

- POPSUGAR Australia
- Beauty
- Everything You Need to Know About Styling a Middle Part
Everything You Need to Know About Styling a Middle Part

by
pooja shah
Getty / Christian Vierig
If there’s something we learned from this year’s Oscars, it’s that the middle-part isn’t going anywhere anytime soon. While the look isn’t new, a contentious TikTok debate over which hair part reigns supreme – the Gen Zs picked the middle part, while millennials typically preferred the side part – has resulted in an uptick of interest around the middle-part hairstyle.
Over the last few years, countless celebrities have stepped out with middle-hair parts. We’ve seen the look on face-framing updos, sleek styles, straight hair, natural curls, and every hair type in between. Middle parts have been spotted on long and short hair – because, really, it can be worn with any length.
If you’ve ever wondered how to style a middle part and how to boost volume at the roots – or if you’re just looking for inspiration – we spoke with hairstylists Roshni Ladva and Kylee Heath for everything you need to know before trying out the look.
How to Style a Middle Part
The best part about this look is that you can style it slicked back, down in loose waves, up in a ponytail or top knot, or anything in between. Creating a middle part is also easy: first, make sure the hair is wet (wet hair is easiest to style). Then, use a wide-tooth comb such as the Pattern Beauty Wide Tooth Comb ($15) to draw a line down the scalp and comb your hair to the sides away from the face. Style the hair in a ponytail or bun or wear it down. Once the part is perfect, apply a styling cream to add moisture and prevent flyaways. This will also provide a loose hold without adding extra weight to the hair.
If you have fine hair, you can also add a lightweight gel to help keep the part down and make sure that the edges on each side of the part stay crisp. Brush it down using a bristle brush for a sleek finish. Ladva recommends achieving a neat look by not teasing the hair when doing a middle part. “You don’t want hair to look overly processed or unnatural,” she says. (More on how to add volume at the roots later.)
For people with curly or textured hair, Heath recommends brushing and creating the part in the shower and using a detangling brush when the hair is wet. Once you hop out of the shower, add a styling cream or hair oil to add moisture to the hair before towel-drying. “It’s important to not brush the hair when it’s partially dry,” Heath says. “The best way to keep the curls intact is to only comb and brush while wet.”
If you’re looking to create a middle part with loose, beachy waves, Heath recommends using a flat iron to create a smoother look. “For the undone bedhead look, just be sure to hit the hairline with the mini flat iron, and it will give the look the tiny bit of ‘done-ness’ that it needs,” she says. For the rest of the hair, from the mid-length to the ends, use your regular curling iron.
How to Add Volume at the Roots
One of people’s biggest concerns with trying a middle part is not having enough volume on either side of their head to pull it off. Not to worry: volume can be added to roots with just a few easy steps.
Again, Heath recommends starting your styling with wet or damp hair. Use a blow-dryer to rough-dry the hair, running your hands through it in all directions. Once the hair is about 50 percent dry, use a round brush to pull the hair upwards when drying, focusing the heat and tension from the brush directly on the roots. Finish by applying a small amount of volumizing hair powder at the roots, massaging it in around the crown.
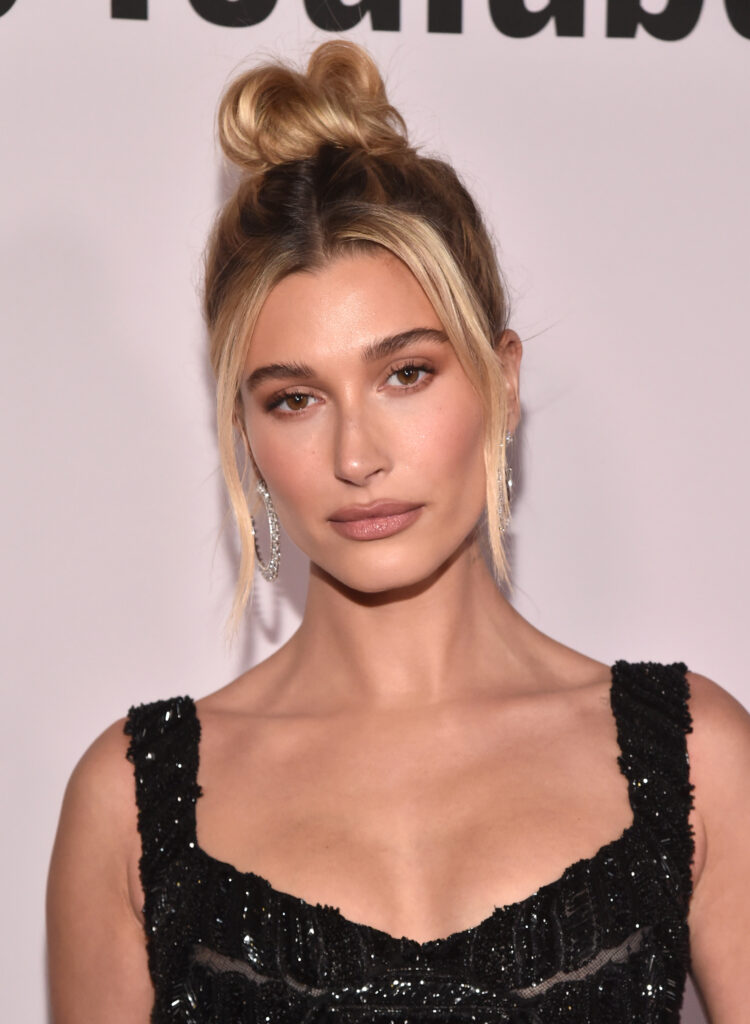
How to Do a “Softer” Middle Part
Getty / Alberto E. Rodriguez
If you want to try a center part but are worried about it looking too extreme, try doing a smaller part instead for a softer look. Start your part in the middle at the hairline and veer slightly off-center to the side (or brush it all the way back into a ponytail or top knot, as shown above) as you work your way back. Another trick? Part your hair down the middle but use your fingers to create a not-too-perfectly-straight part.
How to Do a Middle Part If You Have a Widow’s Peak

Getty / Axelle/Bauer-Griffin
There’s no reason to avoid a middle part if you have a widow’s peak (usually defined as a longer point of hair in the center of the head). You don’t have to fight the natural parting of your hair, but you can coerce it to lie flat by combing damp hair tautly with a brush, followed by a blow dryer to set.
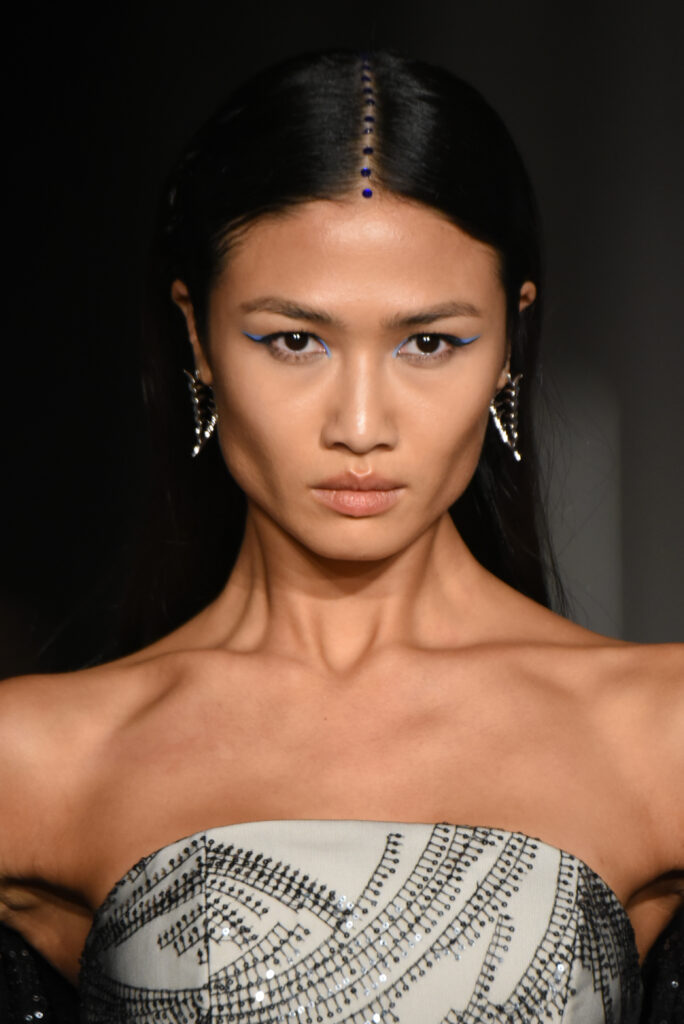
How to Add Jewelry to Your Middle-Part Look
Getty / Albert Urso
Middle parts can feel very regal. According to Ladva, it’s a hairstyle that allows for proper placement and highlighting of jewelry or gem embellishments, because it provides a symmetrical balance to the overall look. Create your middle-part hairstyle as described and then put in hair accessories, such as a tikka, a headband, gemstones, or other jewelry. For Indian tikkas or crystal embellishments, use eyelash glue to affix to your forehead.
If you’re looking for even more middle-part hair inspiration, keep scrolling.