

- POPSUGAR Australia
- Fitness
- My Shoulders Always Felt So Tight During Yoga, Until I Learned These 3 Tricks
My Shoulders Always Felt So Tight During Yoga, Until I Learned These 3 Tricks
Getty Images / LeoPatrizi / Leonardo Patrizi
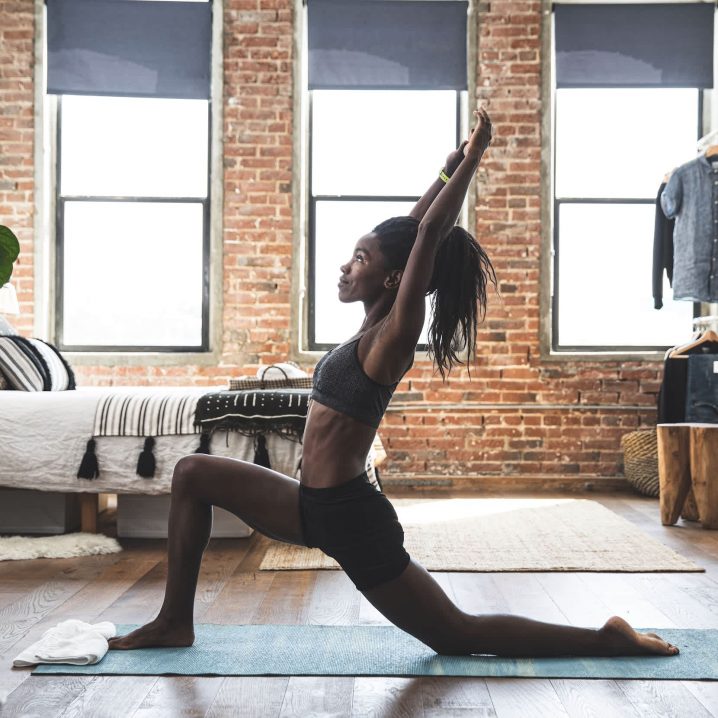
There’s nothing like Warrior 1 to remind me of my unceasing shoulder tension and tightness. As I lift my arms into the air and settle into the position, all I can ever think about is the relief I’ll feel when I finally get to drop my arms – because, quite, frankly, it feels like I’m carrying 10-pound weights on each shoulder. The same goes for when I’m in Upward Dog.
Considering these are two very popular yoga poses that show up in every single class I take, and my goal is to feel some physical fluidity and anxiety relief in my practice, I needed to find a fix.
Thankfully, one of my all-time favorite Peloton yoga instructors, Ross Rayburn, came through with a 3-step process for relieving shoulder tension and tightness – in fact, he says it’s actually quite a common problem.
Rayburn says each portion of his process “addresses a common misalignment of the shoulders and neck,” and this “improved alignment can relieve the protective tension we often experience.”
Step One
Take the time to practice a few stretches that help to “reorient the head and the shoulders to a neutral position,” Rayburn says.
You might be wondering: what does neutral position even mean? “For the head and the shoulders, neutral usually means ‘move backward.’ The head and shoulders tend to drop forward or slouch, so generally they need to be moved toward the back plane of the body,” Rayburn says.
To do this, try the two stretches below.
1. Clasp your hands behind your back and stretch your chest muscles to move the shoulders back.
2. Clasp your hands behind your head and press your head back (as if into a car headrest) to move the head back to its natural position over the torso.
Related: This 30-Minute At-Home Yoga Sequence Will Strengthen and Stretch Your Entire Body
Step Two
Practice what Rayburn calls “superhero chest,” or making your torso – your lungs, ribcage, chest, and upper back – puffed-up and buoyant, like an inflated balloon. Superhero chest, Rayburn explains, “acts like a bio-scaffolding and it starts the process of allowing the shoulders to relax.”
Consider it the opposite of a collapsed torso, which he explains forces the head and neck muscles to tighten and hold you up from the outside.
Step Three
“The third step is then relaxing the outer shoulder and neck muscles down onto the buoyant structure you created and maintain,” Rayburn says. “The key is not allowing the torso to collapse as the shoulders and neck muscles relax down away from the ears. Too much of either (the inner lift and the outer softening) will result in the neck and shoulders feeling tight.”
Essentially, you’ll want to practice keeping that buoyant torso, relaxing your shoulders, and maintaining proper head position while doing yoga poses. “So, next time you do an Updog or a Warrior 1, think: head/shoulders back, superhero chest, and keeping those two steps, let go of the tension.”
Don’t sweat it if acing all these steps at once is challenging – Rayburn says it’s truly a lifelong practice and can be implemented in any pose. For me, the simple stretches in Step One (which I perform before I roll out my mat) ease a lot of the tightness in the shoulders. Superhero chest has been a game-changing element to my routine, too – I never realized how much I collapsed my torso while doing yoga. I still have to actively remind myself to implement Rayburn’s steps, but when I do, the relaxation I feel in my body makes doing Warrior 1 all the more worthwhile.
Click here for more health and wellness stories, tips, and news.