

- POPSUGAR Australia
- Beauty
- Getting a “Russian Manicure” At Home is Easy With This $20 Nail Tool
Getting a “Russian Manicure” At Home is Easy With This $20 Nail Tool
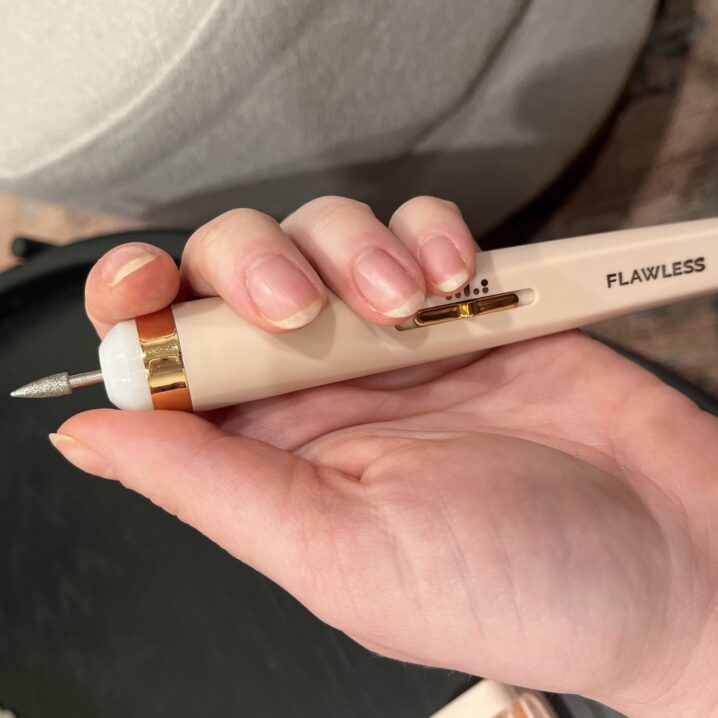
POPSUGAR Photography / Maddie Aberman
- Finishing Touch created a Flawless Salon Nails tool to help get pro-quality nail prep at home.
- The device has six removable heads to create an all-in-one tool.
- One nail-obsessed editor tested the device and was impressed by the easy, flawless nail prep it delivered.
Hi, I’m Maddie, and I’m type A. We’re talking Pinterest-worthy drink storage in my fridge, alphabetized bookshelf (by author, duh), full itinerary for every trip type A. Don’t even get me started on how this personality quirk plays out in my at-home manicures. I’ve been known to post up in front of my latest Apple TV+ binge with a cuticle pusher, nipper, file, and buffer perfecting my nail prep for hours before I ever reach for a bottle of polish, which is typically Olive & June in CTT, the perfect sheer pinky-nude IMHO.
When what’s called the “russian manicure” blew up on TikTok late last year, I knew it was for me. The look is all about precise nail prep using an e-file, which is those teeny tiny drills you see at the nail salon. “The technique involves very extreme and extensive cuticle care [and requires a manicurist] to have almost surgeon-like precision,” manicurist Elle Gerstein previously told POPSUGAR. But like the obsessive type A person that I am, I needed to take matters into my own hands, literally. Enter, Finishing Touch Flawless Salon Nails ($20).
Did it deliver in giving me the at-home russian manicure of my dreams? Keep reading to find out.
About the Finishing Touch Flawless Salon Nails
- Finishing Touch Flawless Salon Nails is an affordable e-file that helps you get pro-quality nail prep reminiscent of a russian manicure at home.
- It comes with six detachable rotating heads that are designed to shape, file, buff, smooth, and shine your nails.
- The lightweight device has two speed settings and spins both forward and backward.
What I Like About Finishing Touch Flawless Salon Nails
The first thing I noticed when I took the tool out of the packaging was how lightweight it was. I’ve used pricier e-files in the past, and the heavy handles and tangly cords made maneuvering around my nails pretty tricky. In contrast, this device was lighter than my iPhone – and I don’t even have a Plus – and the lack of cord was clutch. Plus, the compact organizing case for all the attachments made me very happy.
Another unexpected perk of this device is the LED tip applicator. When it’s turned on, the tip of the handle works like a flashlight, so it gives you a really good visual on all your nails as you work. Check out the before picture of my nails below. Admittedly, I was starting from a pretty good place (see type A personality above), but there was a little work to be done around the side walls of my nails and cuticles.
How to Use the Finishing Touch Flawless Salon Nails
1. Fully charge the handle. For your first use, the brand recommends a full two-hour charge using the micro USB cable it comes with and to wait for the indicator light to turn off when it’s fully charged. I did like that the device still turned on when it charged, and the cord was long enough that if you were in a crunch, you could charge and nail prep at the same time.
2. Work your way through the attachments. Each attachment head has a really specific purpose, so depending on what you need for your nails, you can choose the tips. They slide into the device really easily (just make sure you insert them all the way or I found they were a bit wobbly).
- Shape and File: This cone-shaped head works to file unpolished nails if you hold it against the free edge. You can use this on the high or low speed setting, but I found it was easy to get the almond shape I wanted on the low speed.
- Grind and Smooth: The brand recommends you use this grinding tip on low speed, and I can see why. It’s powerful enough to remove gel nail polish, but I just used it to gently smooth the ridges from my nail bed.
- Buff and Shine: Just like the name suggests, this fluffy tip buffs unpolished nails and leaves behind a natural-looking shine. I used this on high speed as the finishing step in my DIY Russian manicure and was really impressed with the sheen it gave me bare nails.
- Polish Prep for Larger Nails: This gentle, cylindrical buffer head has a flat tip that helped me get into the edges of my nails around my cuticles to remove any excess dead skin there.
- Polish Prep for Smaller Nails: This tip was great for precision work on smaller nails. Definitely start on a low speed here until you get the hang of it so you don’t accidentally create ridges or dips in the nail by grinding away too much.
- Cuticle Care: This was by-far my favorite attachment. The tapered tip (on low speed) helped me get right up to the edges of my nails to remove stubborn dead skin.
3. Clean off the device and heads. Once you’re done with your nail prep, rinse the heads under water to remove any dust and debris, and let them air dry before storing it all away. This helps keep the buffers working like new.
What to Consider Before Trying the Finishing Touch Flawless Salon Nails
Like any power tool, this device wasn’t exactly quiet. It does emit a buzzing noise, but even on the highest speed setting, it was quieter than a blow dryer or a vacuum, and I was still able to hear “Ted Lasso” in the background the whole time.
The only thing that did interrupt my viewing was that I had to keep referring back to the instruction booklet to check with heads I needed to use and how to work them on my nail (it did come with helpful diagrams). I think the more I use this, I’ll figure out exactly which attachments work best for my needs, but they were a little confusing at first.
The other thing I had a hard time figuring out was the direction I needed the attachments to spin as I worked on each nail. They can spin forward and backward. The instructions mention choosing a setting that directs the nail dust and debris away from your hand, but it did take a little trial and error as I was working. Still, once I figured it out, I decided: this is one tool I’ll keep in my nail kit for good.
Read More POPSUGAR Beauty
- These Vitamin C Products Are the Secret to Glowy Skin
- What to Know Before Trying the Copper Hair Colour Trend
- These 13 Lipsticks Are the Perfect Dupe for Charlotte Tilbury’s Pillow Talk
- Slay Or Nay: The Viral Beauty Trends of 2023 (and Whether They’re Worth Trying
- 16 of the Best LED Masks in Australia and Exactly What Each Light Does for Your Skin