- POPSUGAR Australia
- Beauty
- I’m Terrible At Hair — Can The New Dyson Airwrap Change That?
I’m Terrible At Hair — Can The New Dyson Airwrap Change That?

by
Ruby Feneley
As POPSUGAR editors, we independently select and write about stuff we love and think you’ll like too. POPSUGAR has affiliate and advertising partnerships so we get revenue from sharing this content and from your purchase.
In June this year, Dyson launched their updated Airwrap. Since the product first launched back in 2018, I’ve swooned over TikTok and Instagram videos of natural-looking, high-shine Airwrap curls, so when I was offered the opportunity to review the new Dyson Airwrap, I leapt at the chance.
The award-winning hot tool attracts hair to the barrel, “wrapping” hair perfectly while drying and setting in a curl.
This technology reduces the likelihood that the hair-styling-challenged will scald their fingertips while awkwardly positioning hair around a high-heat tong. Hair is dried and curled at the same time, exposing it to less heat, and resulting in shiny — rather than crunchy — locks, and reduced heat damage over time.
Because the Airwrap is so unique, I’ve decided to focus on creating curls with the attachment, but stay tuned for a full review of each attachment. .
Why So Scared?
So, why was I, a qualified makeup artist and beauty journalist, intimidated by the Airwrap?
From the Airwrap to their Corrale Hair Straightener and their famous Supersonic Blowdryer, Dyson does everything differently. This means all of their hair products have a learning curve.
The Airwrap has an incredible number of settings and attachments, which allows for much personalisation. This is wonderful, but I am someone who almost failed my makeup Diploma because I couldn’t pass the “basic hairstyling” component.
I approached the Airwrap like it was a live snake, ready to relive this humiliation. I also had some doubts the Airwrap could hold my very heavy hair in a curl.
However, after some research — and a bit of trial and error — I’m pleased to announce that I have mastered this hot tool. Here’s how.
How I Use The Air Wrap:
I have heavy, straight hair that doesn’t like to hold a curl. Usually, if I want soft waves at the end of the day, I give myself a tight perm in the morning and let it drop throughout the day. There are a few issues with this.
1. It fries my hair and leaves it looking dull
2. It often results in “obviously” curled-looking locks
3. I spend the first part of the day looking like Margaret Thatcher.
While I was mesmerised by the shiny, soft waves I’ve seen from the Airwrap, I was sceptical they’d last on me.
I checked out a few tutorials with the Airwrap online and Dyson’s Youtube instructions. In the end, I took some tips from Hannah English. She has straight, thick hair like mine, and upon her advice, I made a few adjustments to my usual blowdry routine.
Prep Yourself:
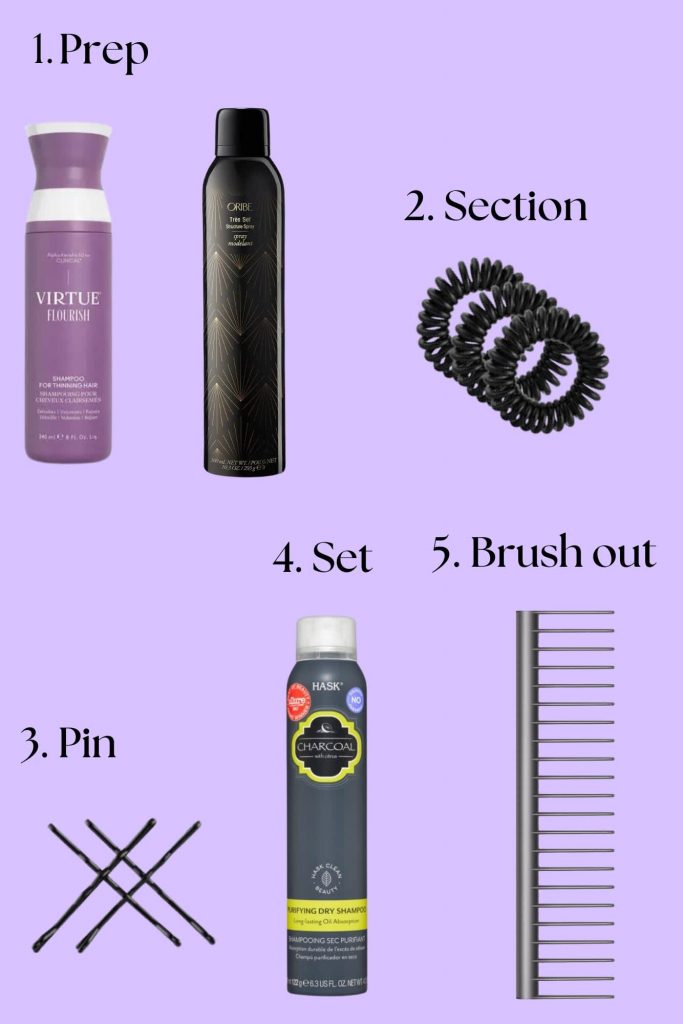
I’ve raved about the Virtue Flourish Shampoo and Conditioner. The range hydrates and smoothes, while providing a deep clean. I suggest looking for similarly lightweight products. Generally, “volumising” or “detoxifying/deep cleaning” are designed to leave your hair weightless, so opt for these.
Usually, I would follow with a cream de-tangler, but this can further weigh down hair, so I switched this out for a long-hold mousse. I used the excellent Oribe, Tres Set Structure Spray ($68).
I would usually apply this product only to my roots for volume, but instead, I worked it right through my wet hair. I then used the Coanda Smoothing Dryer attachment on its blowdry setting to dry my roots. For some, the Dyson Airwrap will provide enough heat to accomplish this step, but for thick hair like mine, I recommend blow-drying separately. I then diffused the rest of my hair to the recommended 80% dry.
It’s Airwrap Time:
At this point, you should be starting with dry roots and damp hair. I always section my hair when I’m blowdrying, but this is particularly helpful when creating curls. I don’t have proper sectioning tools, so I used my trustworthy Lady Jane, Spiral Elastic Hair Ties ($4).
I set the Airwrap to its most powerful airflow and hottest temperature (heat and airflow dials should be slid all the way up).
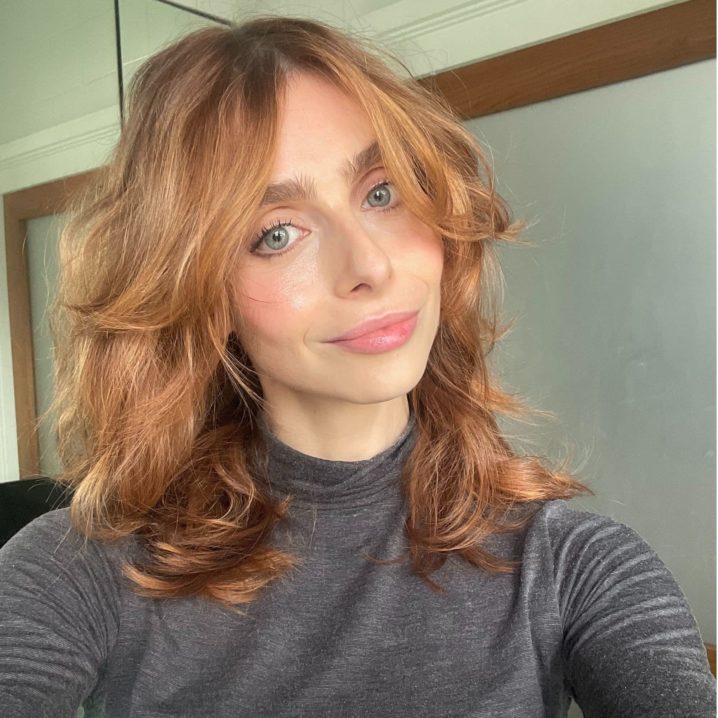
I have a grown-out shag with lots of face-framing layers that I flick back with a curler on a typical day. I began my Airwrap journey on my bangs, using the smaller, 30mm barrel.
Once I’d finished my face-framing, I switched to the 40mm barrel and repeated the process with the rest of my mane.
As suggested, I held each section for 15 seconds on hot and high air, then gave them a “cool” shot. This “sets” the shape. I then, a la Hannah English’s tutorial, pinned the curl. You can skip pinning if you have hair that holds a curl easily.
If you have hair like mine or anticipate a long day in wild weather, pinning them will make a huge difference (as you will see!).
By the end of my session, fully pinned, I looked like a character on Call the Midwife. This is what you want. Proceed with the rest of your makeup and let the curls set.
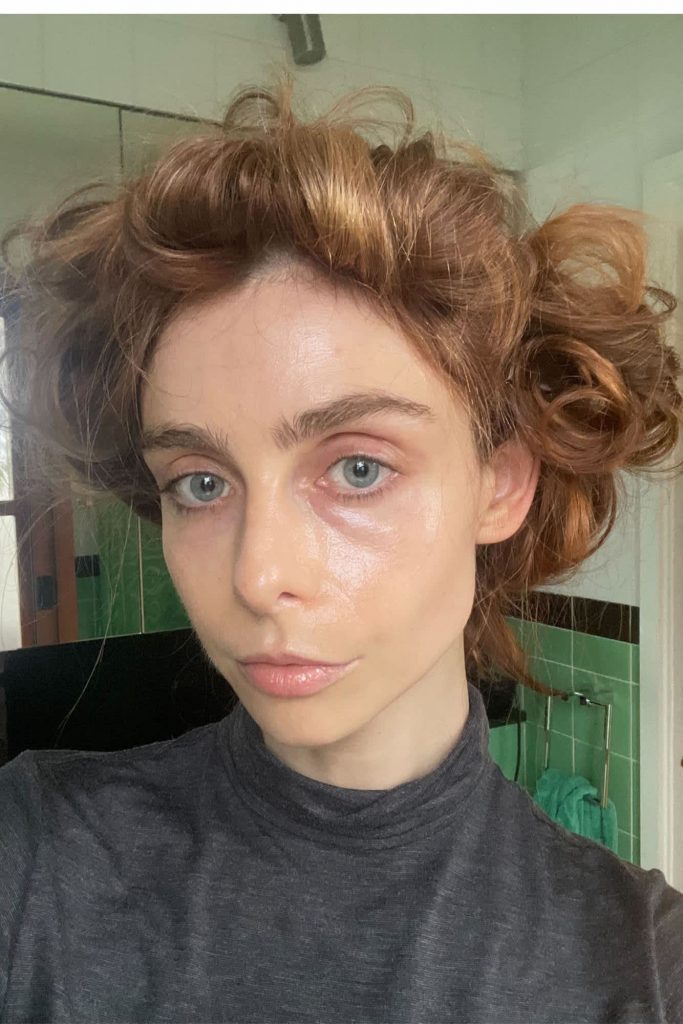
Post makeup, I gave my hair a blast with dry shampoo instead of hairspray. I have very oily hair, and this is a tip I picked up from a hairdresser. Applying dry shampoo immediately after your blowdry stops oil before it starts meaning you use less dry shampoo overall.
I’ve been loving HASK’s award-winning Purifying Dry Shampoo ($11). The product includes charcoal, lemon extract and grapefruit oils to provide long-lasting oil control that doesn’t detract from shine – plus, no white cast.
Then, I combed out my curls using Dyson’s Detangling Comb ($19). The comb has wide teeth that glide through your hair without ripping out knots or pulling out your curls.
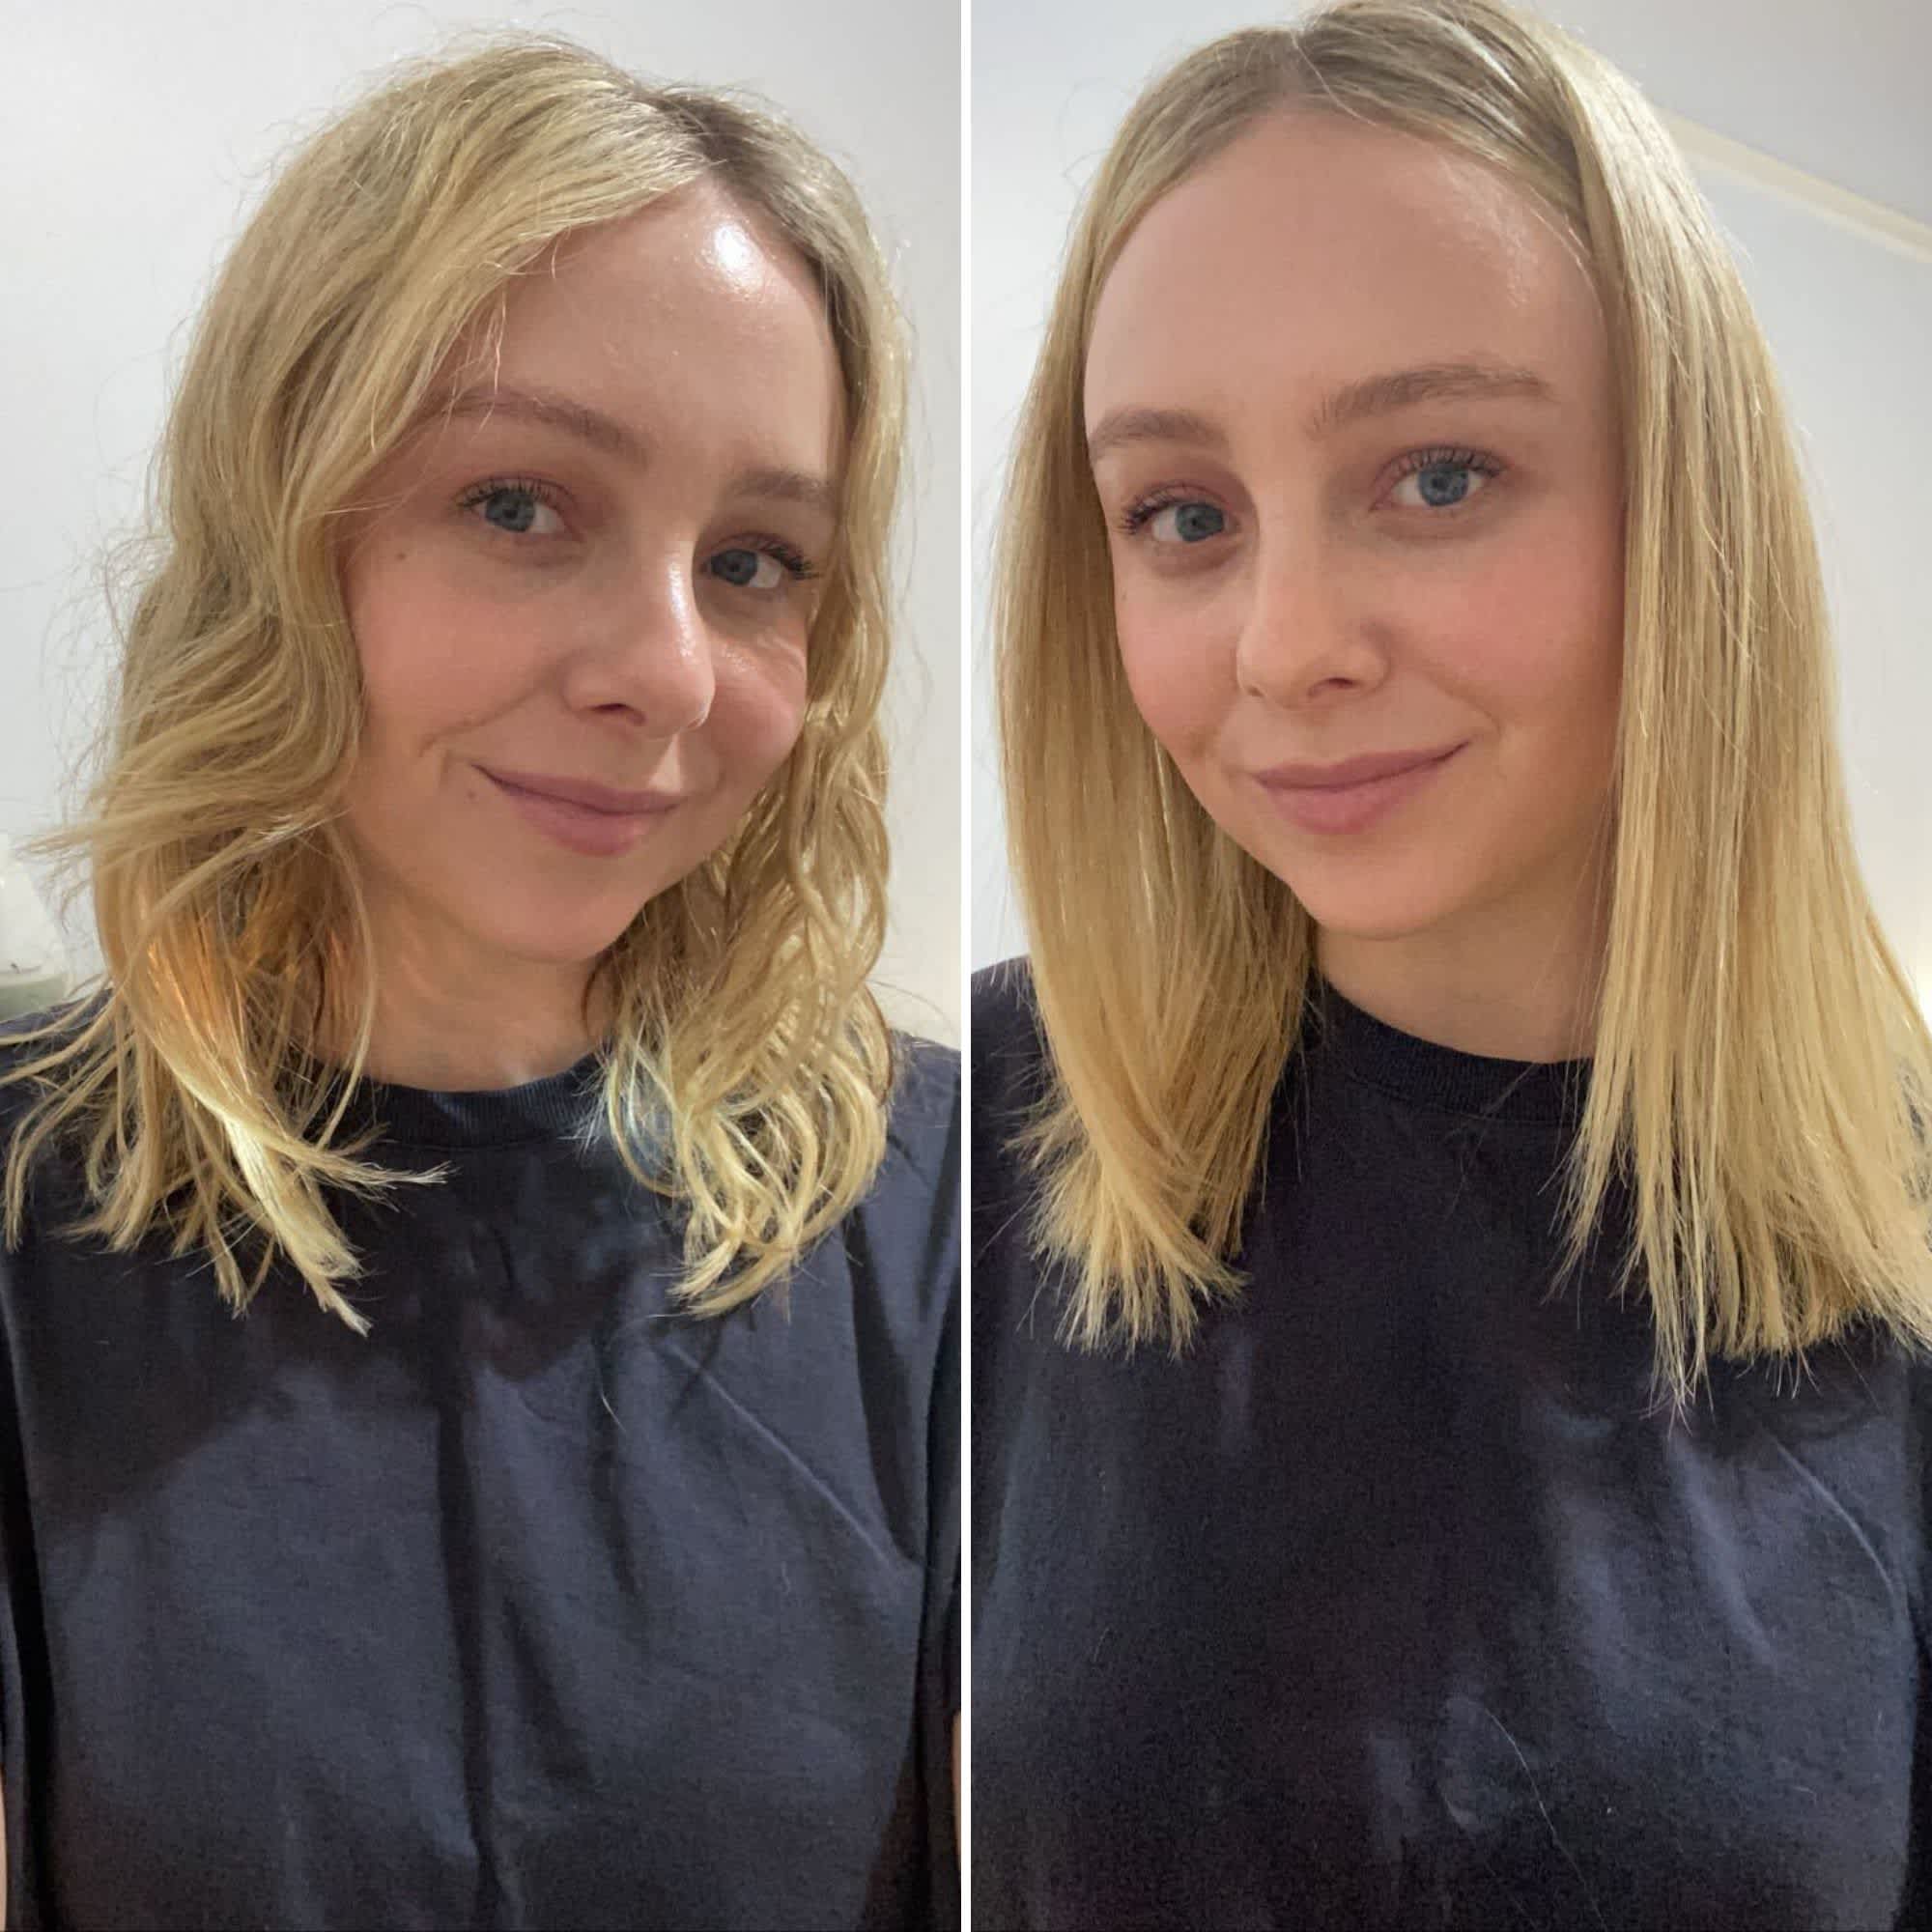
Dyson Airwrap Results:
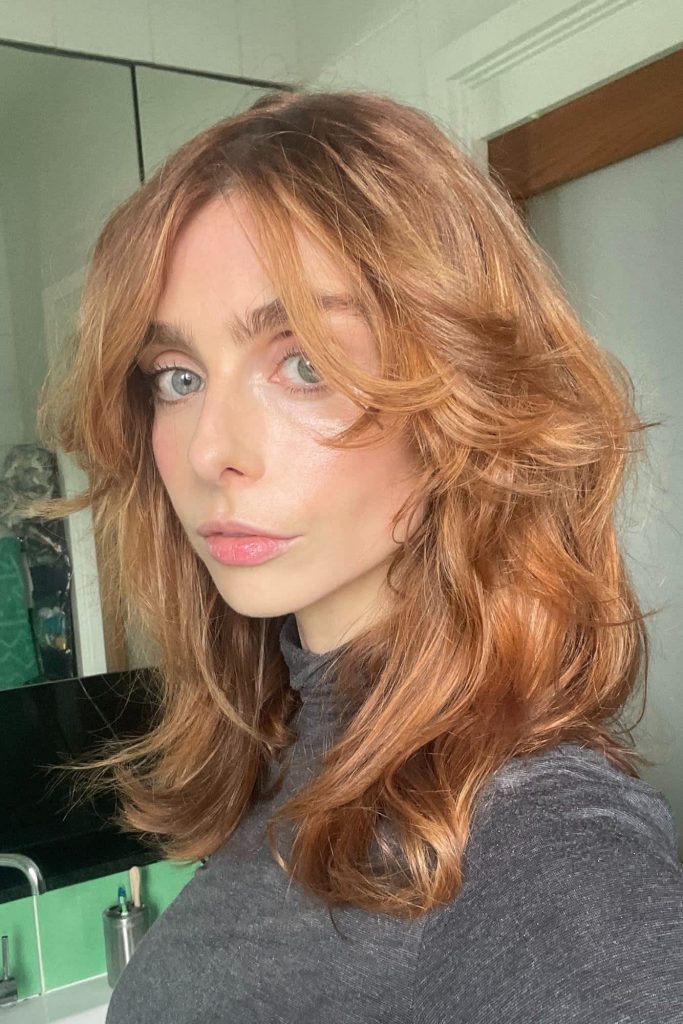
The results were everything I imagined. Lush, shiny, loose waves that looked natural rather than crunchy. But how did they last?
This is where my trial hit a snag. At the time of writing, New South Wales is experiencing torrential rain. After taking my “after” shots, I was fooled by some deceptive sunshine and rushed out for much-needed vitamin D and movement – sans umbrella.
The heavens opened 15 minutes into my walk, and I spent another 15 trudging home in a downpour. My shoes and puffer jacket were soaked, my Lululemons plastered to my legs. My gorgeous blowdry was drenched.
I assumed the longevity trial would need to be revisited later. I towel-dried my hair and decided central heating could do the rest. I went to sleep with slightly damp hair.
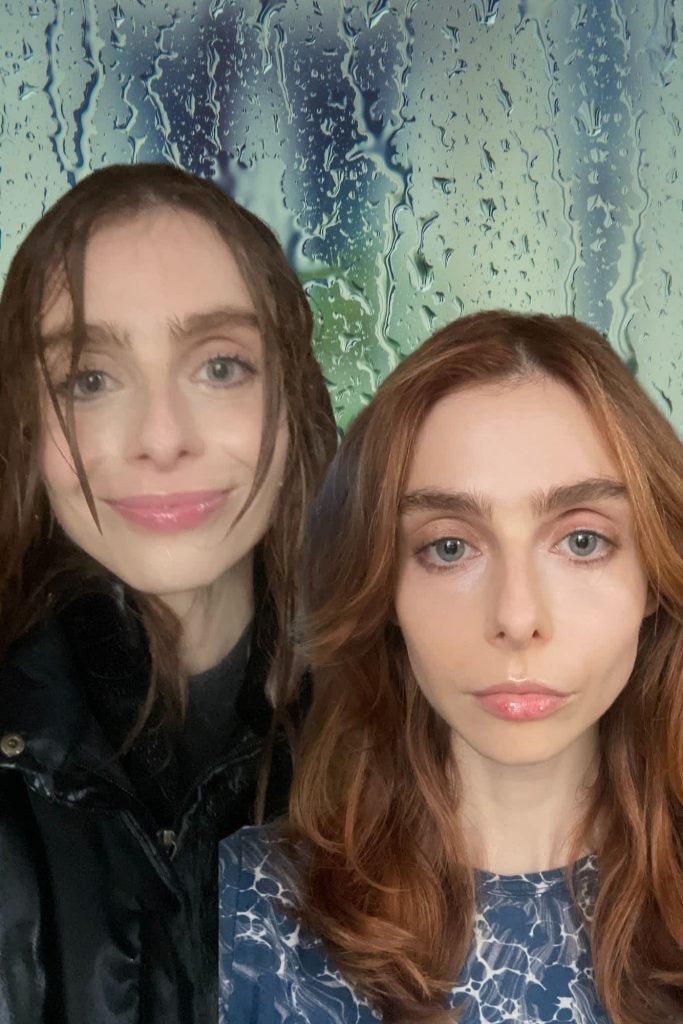
Imagine my surprise when I woke up to hair that had held, if not my Botticelli-cherub curls, then its shape and the loose waves! This is why the setting is so essential — the 15-second hold, the excellent shot, and the correct prep and post-products give hairstyle longevity. I had just one quick minute whip with the Airwrap to smooth and define, and I had the second-day hair I’d expected.
Is The Dyson Airwrap Worth It?
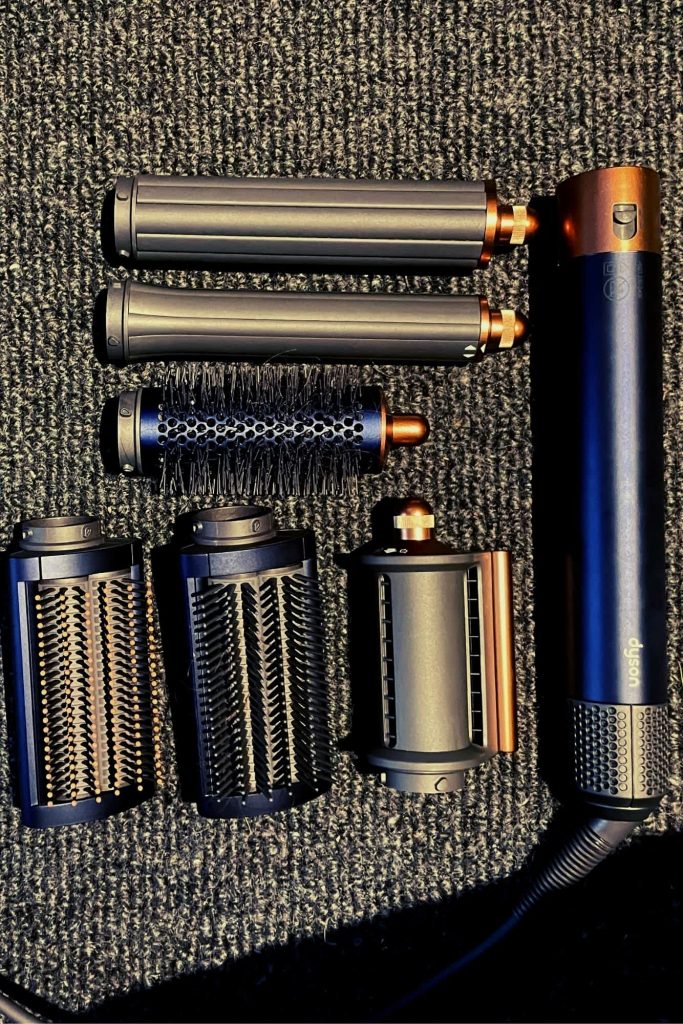
Any Dyson product is an investment, and at $899, the Airwrap is no exception. My thoughts are: the Airwrap comes with six tools, including a round hot brush, two brushes for straightening, and their new Coanda smoothing dryer, which blow-dries and tames fly-aways.
That’s six hot tools in one, that would cost significantly more when purchased separately.
Through Dyson Direct, you can also personalise the attachments the Airwrap comes with, and there are some additional attachments created specifically for natural, curly hair. The attachments are fully compatible with the 2018 Airwrap model, too.
Dyson invests around 2.74 billion pounds in research a year (that’s $4.84 billion at the time of writing), and you can see every dollar in the high shine, “rich girl” styles their products give.
As someone who heats styles their hair every second day, avoiding the dull locks that come with heat damage make the Airwrap and its many attachments worth it.