
- POPSUGAR Australia
- Living
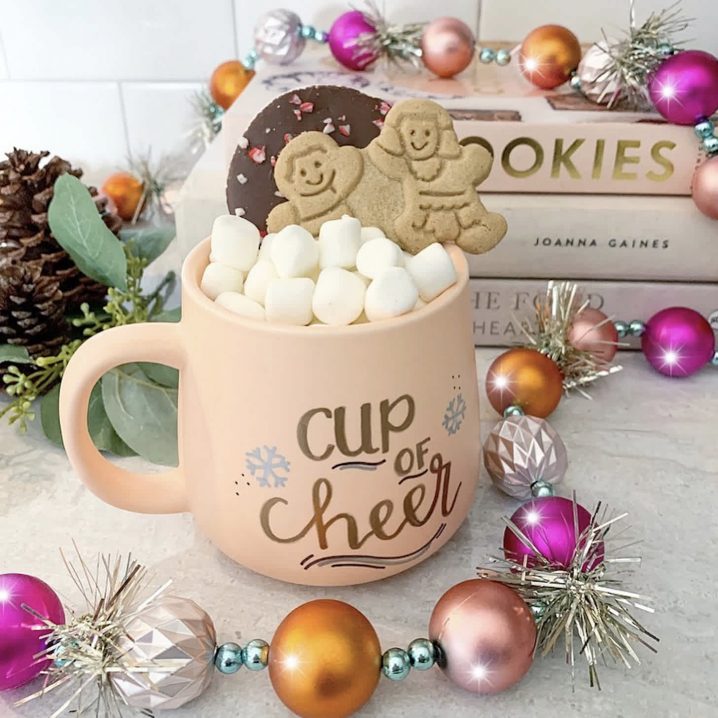
- Still Looking For the Perfect Gift? It Doesn't Get Any Easier Than This DIY Sharpie Mug
Still Looking For the Perfect Gift? It Doesn't Get Any Easier Than This DIY Sharpie Mug

by
emily co
POPSUGAR Photography / Emily Co
Do you have a plain, boring mug that needs a bit of spicing up? Personalize your cups and mugs by drawing on them! You can use them to add personality to your home or even give them as gifts to your loved ones. Here’s how to start:
- Buy white cups or mugs. You can find them in superstores, thrift stores, dollar stores, and online.
- Pick a Sharpie. For long-lasting results, choose oil-based Sharpie paint markers. Regular Sharpie ink can come off even after baking. Pick a color to use on your mug. You can stay simple and choose one color, or be more ambitious and use multiple. If you’re sticking to one color, then black is usually a good choice, given its striking contrast to the white background of the mug.
- Start drawing. Decide what you want to put on the cup, and maybe practice drawing it on a piece of paper before drawing on the mug. Pick a meaningful quote or a cute graphic to decorate the mug with, and get inspired by mugs that are sold on Etsy or by clicking through the examples we’ve shared here from Instagram!
- Dry it out. Let your mug dry for a few hours or overnight before placing it into the oven. You can also draw over it again if you’d like to make sure the pattern doesn’t come off in the wash. If you draw over it again, be sure to leave it out to dry again before baking.
- Bake it. Bake the mug in the oven for 30 minutes at 350°F. Remember to place the mug in the oven before it heats up and leave it in until the oven cools completely so there won’t be any cracks. You can choose to bake the mugs twice to really set in the Sharpie drawings.
- Care and wash. Hand-wash the mug gently instead of throwing it in the dishwasher, as a machine washer may ruin the design.
Some Sharpie mug DIYers may advise you to spray the mug with acrylic sealing spray to make sure the Sharpie etchings doesn’t rub off. I personally didn’t want to do that because the spray can be toxic. However, if you decide to go that route, be sure to avoid spraying near the top and on the inside of the mug. You can cover those areas with masking tape to protect them before you spray.
Keep reading to see more cute, creative, funny, and sentimental DIY mug examples for design inspiration. Enjoy!
– Additional reporting by Lauren Harano and Tara Block
Related: 30 DIY Beauty Gifts That'll Turn Your Home Into Santa's Workshop