- POPSUGAR Australia
- Beauty
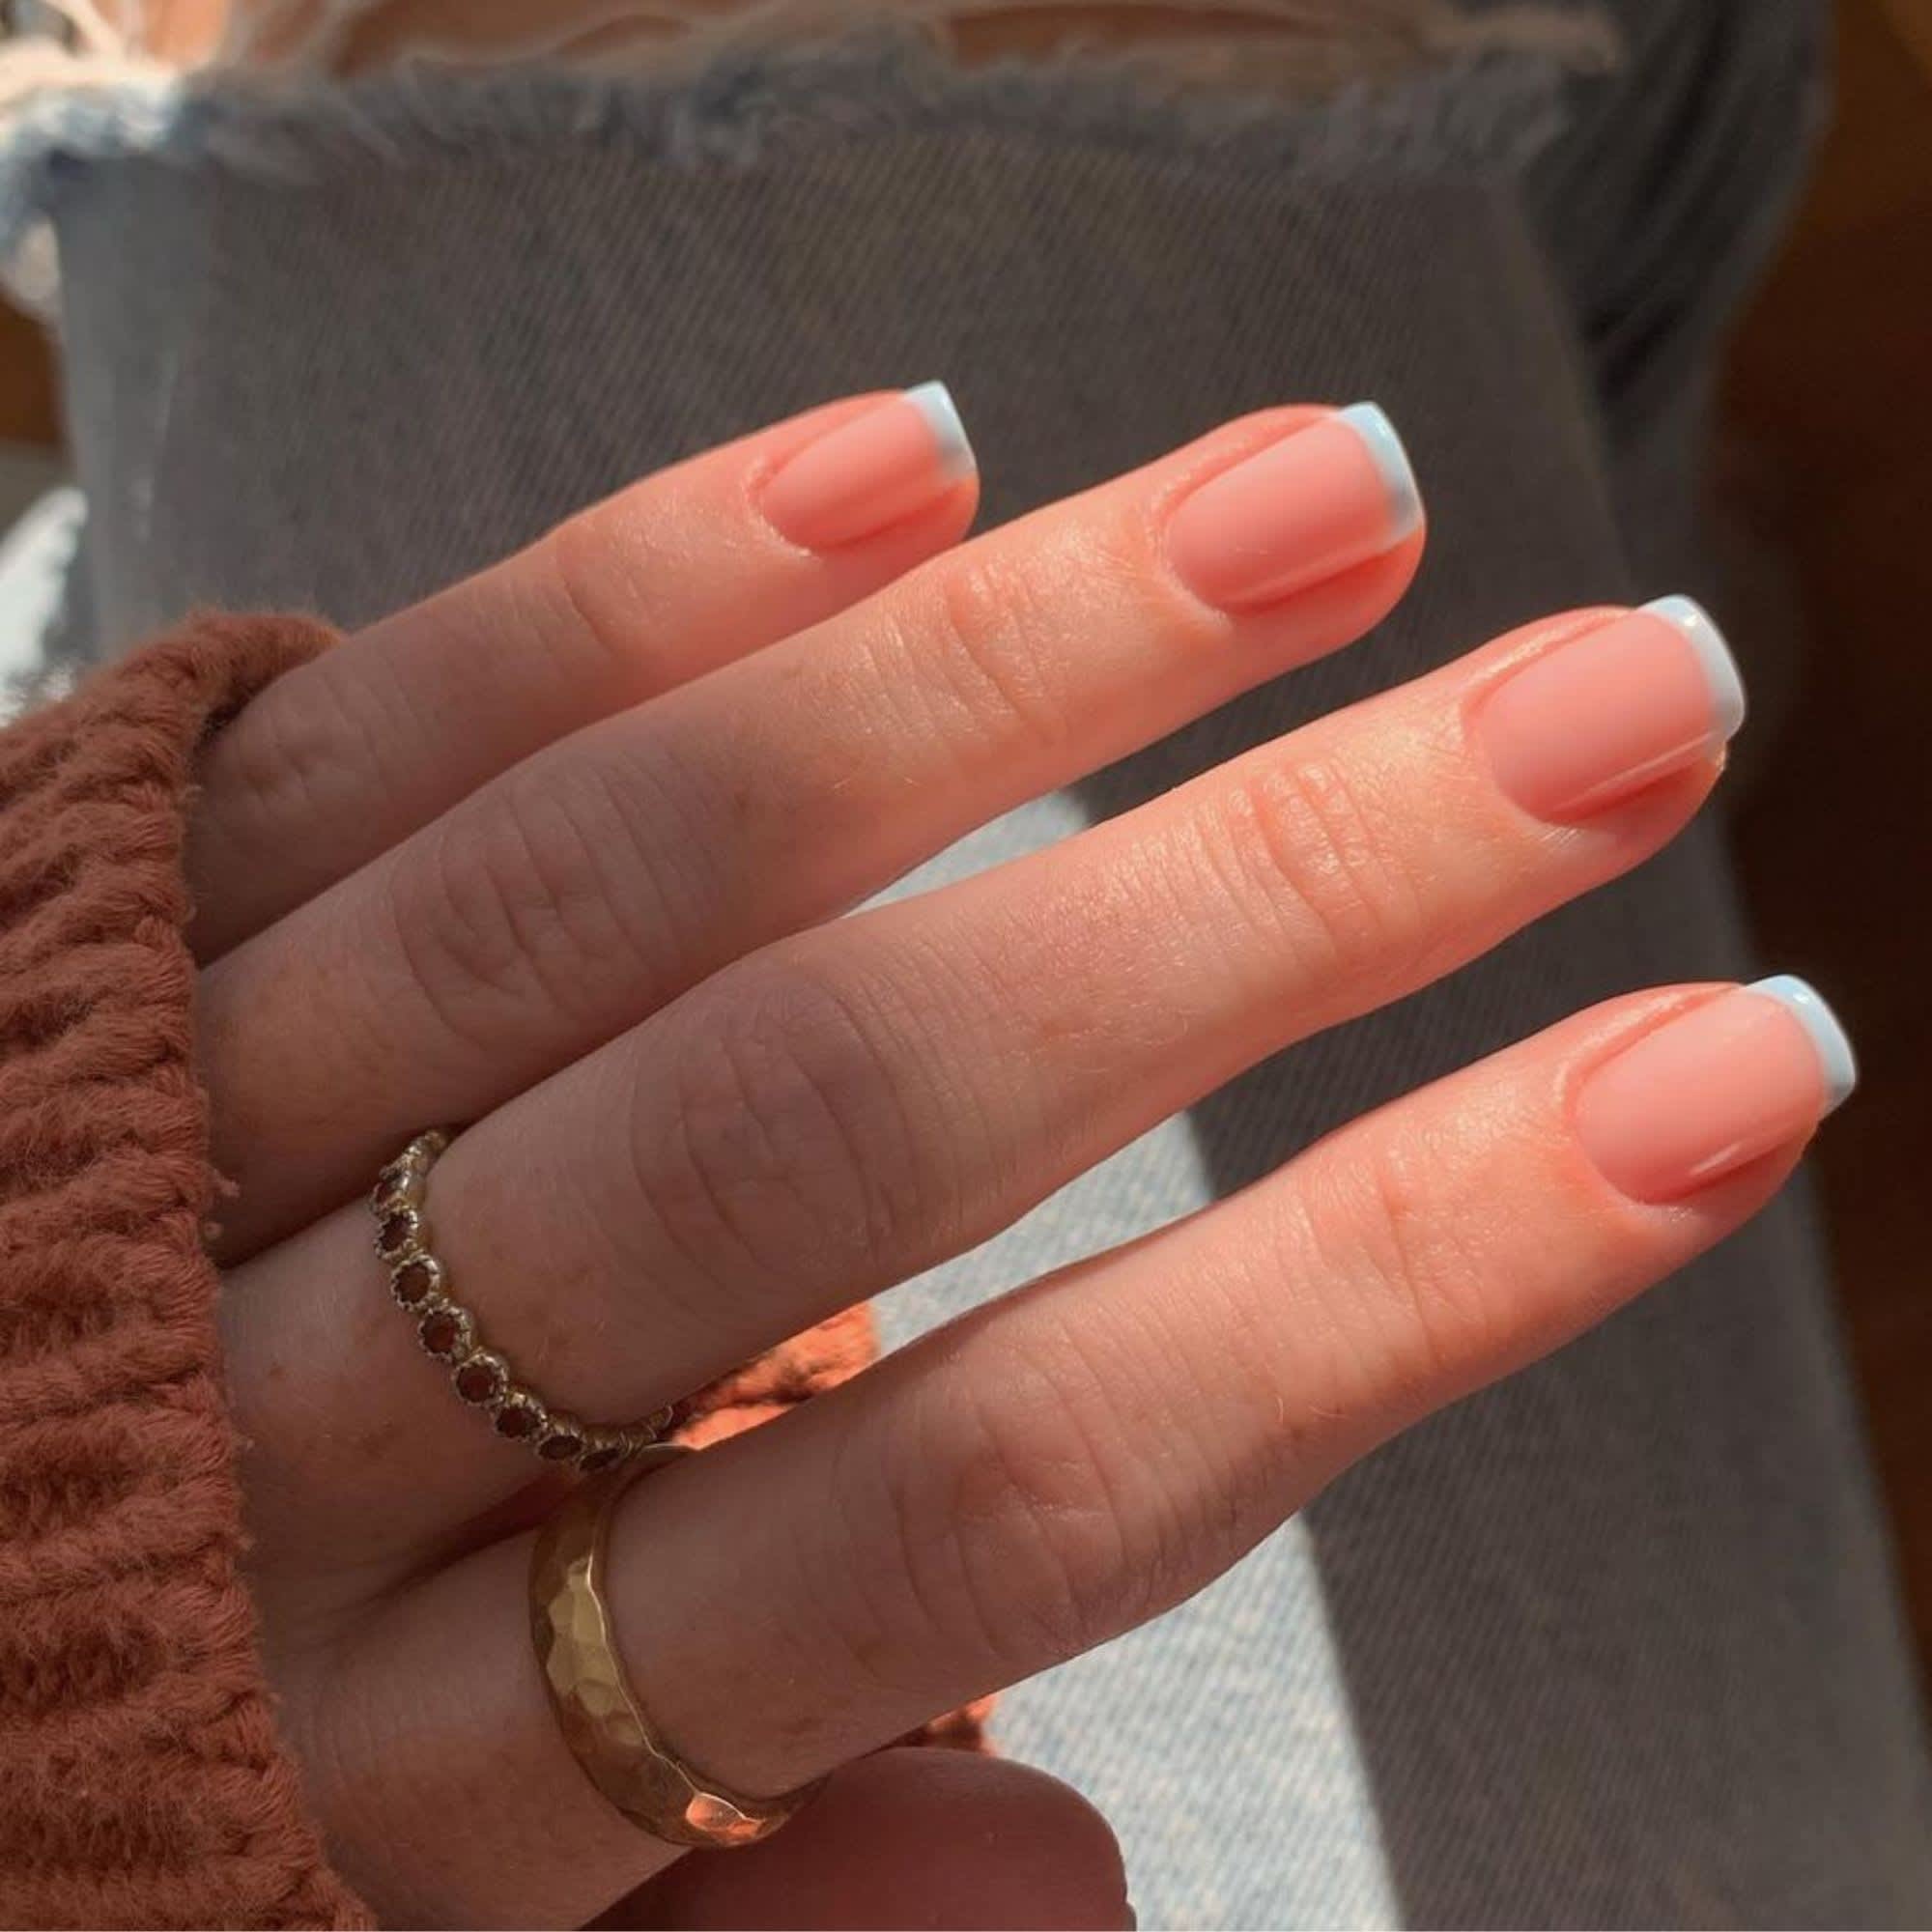
- How to Master the Art of the DIY Manicure at Home
How to Master the Art of the DIY Manicure at Home
Getty Images
At-home beauty treatments have boomed in the last year, with beauty lovers forced to get creative. The temporary closure of salons means one must resort to DIY measures should they still want tinted eyebrows, regrowth-free hair or a fresh manicure. One of the easiest treatments to DIY at home is probably the manicure.
While having a professional manicure is a lovely treat (that yes, will always look better than yours), there is still a lot of room for growth when it comes to mastering the DIY manicure. Instead of swiping on a little nail polish, try to take the time to really treat yourself in the process. Think hand cream, cuticle oil etc.
To take the guesswork out of the steps included in a professional style manicure, Amazon Australia has created a handy guide just for you, so you can achieve a salon experience from the comfort of your own home.
1. Clean
Start with a good nail polish remover to remove any pre-existing lacquer and wash your hands thoroughly. Even if you don’t have nail polish on beforehand, don’t miss this step as it also helps to remove natural oils on your nails which can interfere with your nail polish application and prevent the polish from adhering to the nail properly.
Consider trying OPI’s Nail Lacquer Acetone Free Nail Polish Remover ($9.49) as the addition of aloe vera makes it a super moisturising formula that removes all traces of nail lacquer and doesn’t dissolve artificial nails, should you have them.
2. Clip, file and buff
Clip nails if needed, then shape them up, filing your nails in one direction will help prevent breakage and once you’re happy with the length, buff to create a smooth surface ready for the next steps. The Fancii Manicure & Pedicure Nail File Set ($36.99) is the perfect way to keep your nails shiny, with five interchangeable attachments that allow you to remove excess cuticles or calluses, smooth dead skin and drill, file, buff, polish and shape your nails just like a day at the salon.
3. Moisturise and clean
Wash your hands and apply a thin layer of moisturiser to inject some hydration into your hands and nails. Then, make sure you have a clean dry surface and ensure there is no excess dirt under your fingernails. Revlon’s Stainless Steel Nail Groomer ($11.17) has a flat edge that gently pushes back your cuticles, while the unique scoop easily cleans under nails.
4. Prep and protect
Next, apply a base coat of clear polish, which will promote a longer-lasting manicure and protect your nails from discolouration. It might feel time-consuming but try not to skip this step as it’ll extend the life of your manicure. OPI’s Natural Nail Base Coat ($19.95) helps prevent staining and yellowing of natural nails, while also helping extend polish wear.
5. Colour and create
Apply a coat of nail lacquer using three strokes per coat to create an even surface, allow it to dry, and repeat. You can incorporate nail art using stencils, adhesive decals or different shades of nail polishes. Let your creativity shine! CCbeauty’s 24 Sheets Nail Vinyls Stencil ($8.59) is a budget-friendly way to incorporate stencil print patterns onto your nails.
Another good option is MOLANLY’s Professional 15 Pcs Acrylic Nail Art Brush Set which includes a variety of nail art designs, like dots, lines, circles and flowers, and the brushes you need to create them. Use a nail polish in a contrasting colour to draw designs on.
6. Set
Once you are happy with your nail art and colour choice, apply a top coat and allow it to dry. OPI’s Nal Lacquer Top Coat ($19.95) helps prevent smudges while leaving a high gloss protective shine on your nails. If you really want to upgrade your mani experience, the TOUCHBeauty Fan & UV Light Nail Dryer ($19.99) uses both a fan and LED light to speed up the drying process.