As we’re experimenting with more at-home workouts to keep ourselves healthy and happy outside of the studio, I wanted to look into improving one of the simplest total-body (but mostly core) exercises: the plank.
I’m no stranger to plank challenges, in fact I planked for two minutes every day for two weeks a while back. But I wondered if there were non plank exercises I could do to improve my form – and get over that two-minute mark. I decided to ask my trainer, Liz Letchford, MS, ATC, PhD-C, founder of The Release.
“There are three main parts of a plank that trainers are looking for,” she said. “All of them have to do with proper form and stability: shoulder stability, core stability, and hip stability.” So to hold a plank longer, we should ensure that we can keep good form in each of those areas for longer periods of time. “When any of those [three components] gives way, you’re going to have poor form – that’s game over,” she said, noting that if you’re not properly doing a plank, you’re not getting the benefits (and you could be doing more harm than good).
While this simple yet specific exercise is “80 percent core” (and thus where Letchford focuses most of the training advice), there are movements we can do to emphasize the shoulder girdle and pelvic stability, as they’re also integral areas to emphasize good form. Letchford shared three things to do each day, for 30 to 60 seconds each (simple, right?). “You want to activate the right muscles through exercises and targeting of myofascial tissue [the tissue that supports and protects muscles].”
Here’s the program:
- Scapular push-ups: 30 seconds, building by a few seconds each day if you can keep good form.
- Hollow body holds (also called hollow body Superman): 30 seconds, building by a few seconds each day if you can keep good form.
- Low back, thigh, hip myofascial release (self massage with foam roller, trigger point balls, or another recovery tool): 60 seconds for each area.
She advised I follow this plan every day for seven days. On the first day, I had her observe my first plank so we had a starting group. The time I was personally improving on was 2:39 so we decided a reasonable goal would be roughly 30-45 seconds, settling on 3:15 as our end-of-week goal. The end result? A 4:22 plank! We were both blown away by the time difference, so ahead, you’ll find a step-by-step manual to try it for yourself.
And last thing to keep in mind: “A huge component of planking is breathing technique while you’re in that position,” said Letchford. “Remember: big slow exhales and breathe low into the rib cage.”
Related: I Tried the Push-Up Challenge From Netflix's The Goop Lab – Here's How It Went
POPSUGAR Photography / Liz Letchford
Time Your Plank
I started with a FaceTime plank timer. I called up Liz to ensure that I was keeping form (under a professional eye) while holding it as long as I could – before I exhausted my muscles and started to sag in any of the three key areas.
You don’t necessarily need a trainer to watch you; you can record yourself with your phone’s video feature, or have a friend, significant other, or roommate watch to make sure you’re holding that solid form the whole time.
POPSUGAR Photography / Dominique Michelle Astorino
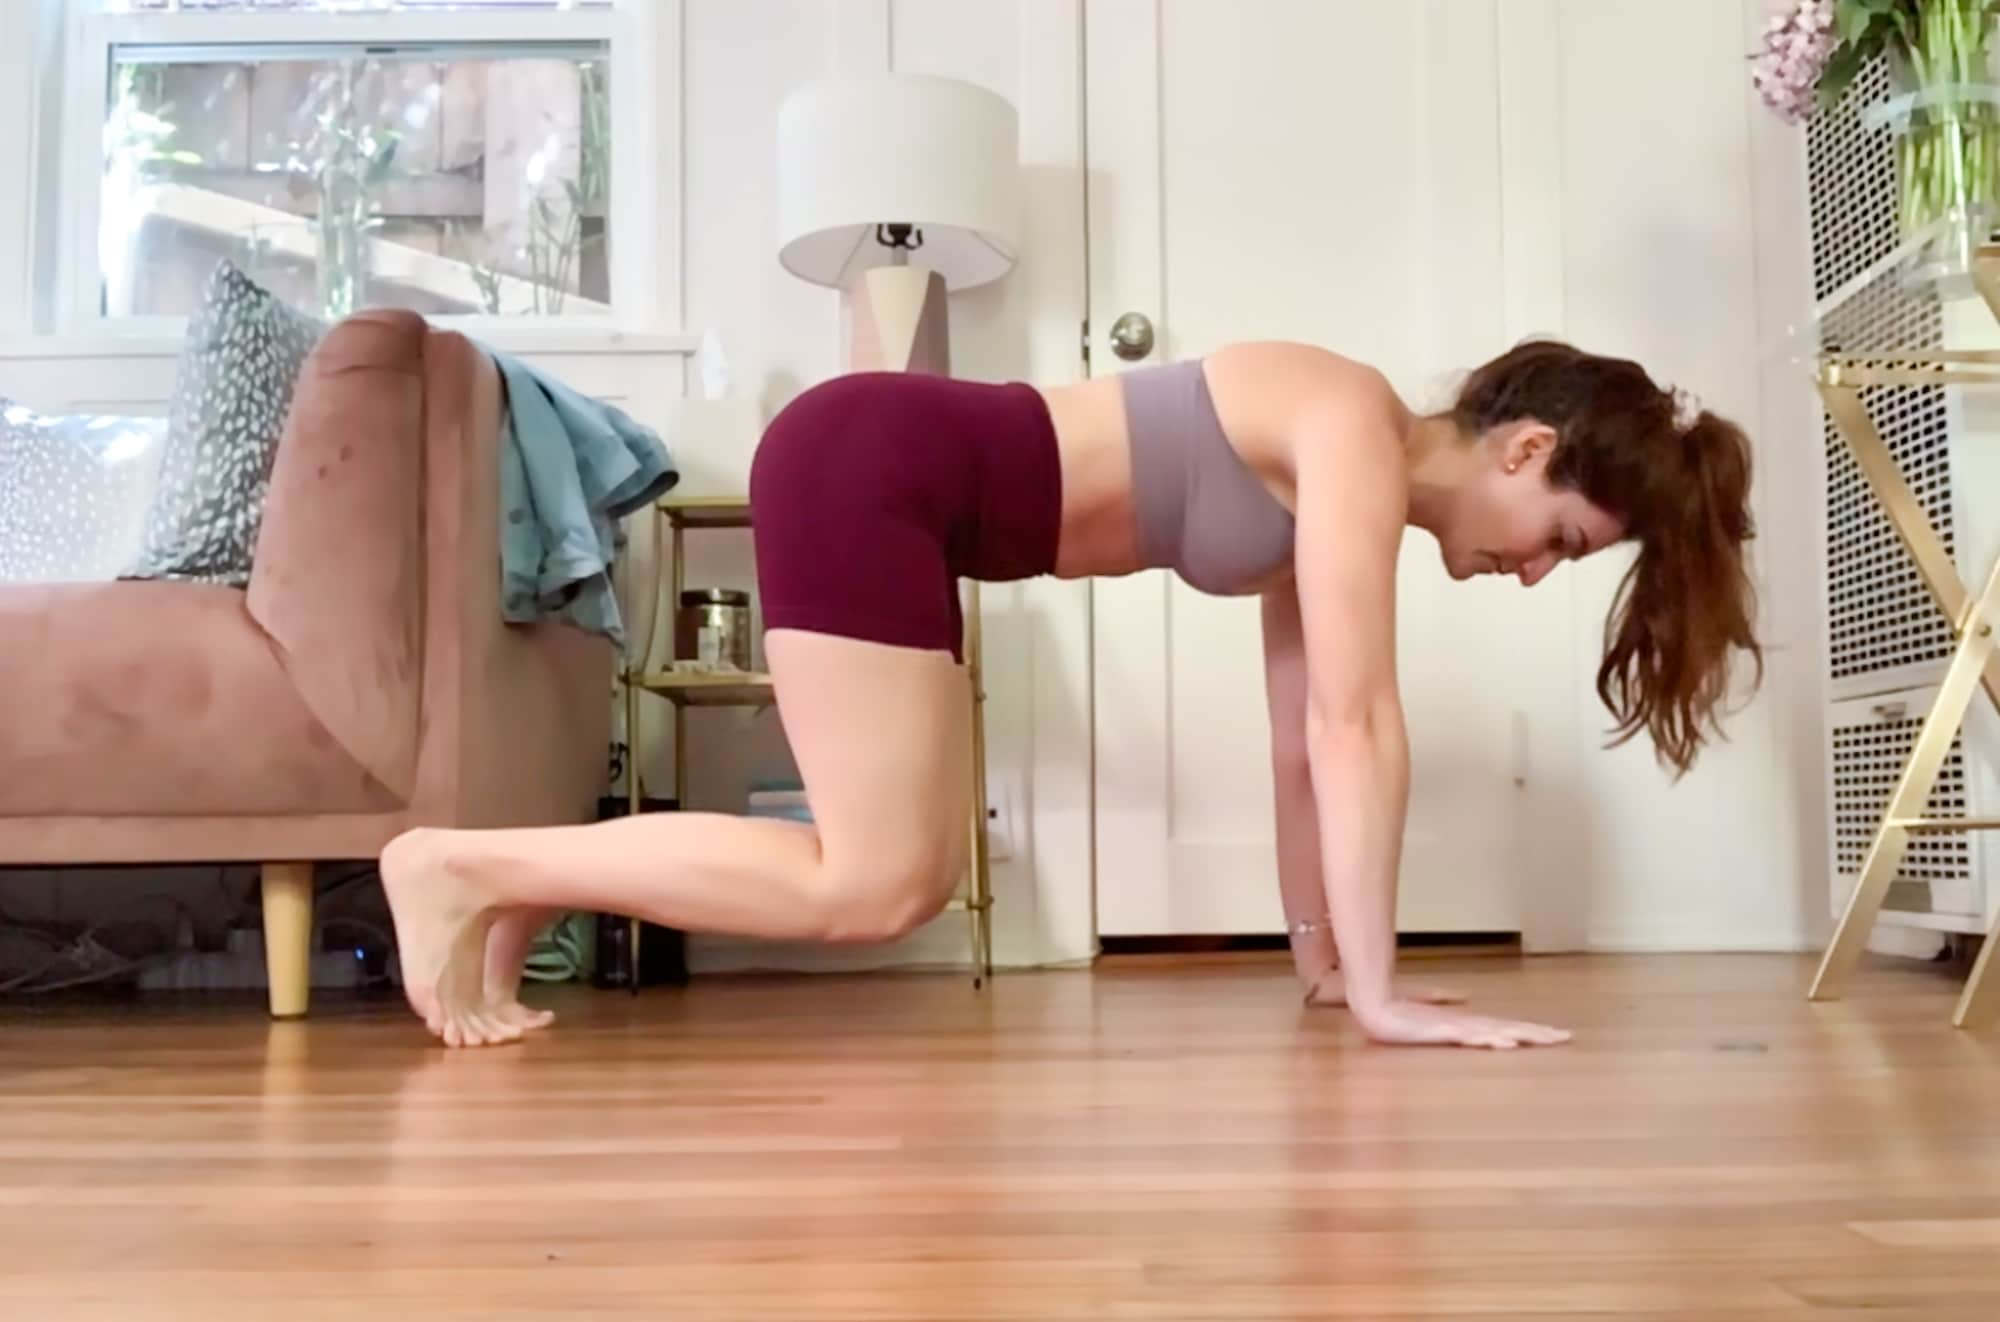
Scapular Push-Ups
To target the core and shoulder stability simultaneously, Letchford “prescribed” 30 seconds of scapular push-ups per day as part of my training program, adding any additional seconds in the consecutive days if I felt stronger.
Letchford had me do my push-ups (sometimes called straight arm push-ups) in a bear hold or knees-off position. She calls it “hydraulics while you’re in a bear hold.”
- Come into a cat-cow position as you would in yoga: hands under your shoulders, knees under your hips. Round your back and scoop your abdominals into your spine.
- Hover your knees an inch or two off the ground to begin.
- Exhale and press your shoulder blades apart; your upper back will rise toward the ceiling.
- Keeping your core braced and your arms straight, inhale and allow your shoulder blades to slide toward each other. Repeat for 30 seconds while keeping your lower abs locked in.
- In the following days, add up to 15 seconds (per day), depending on your strength and stability
POPSUGAR Photography / Dominique Michelle Astorino
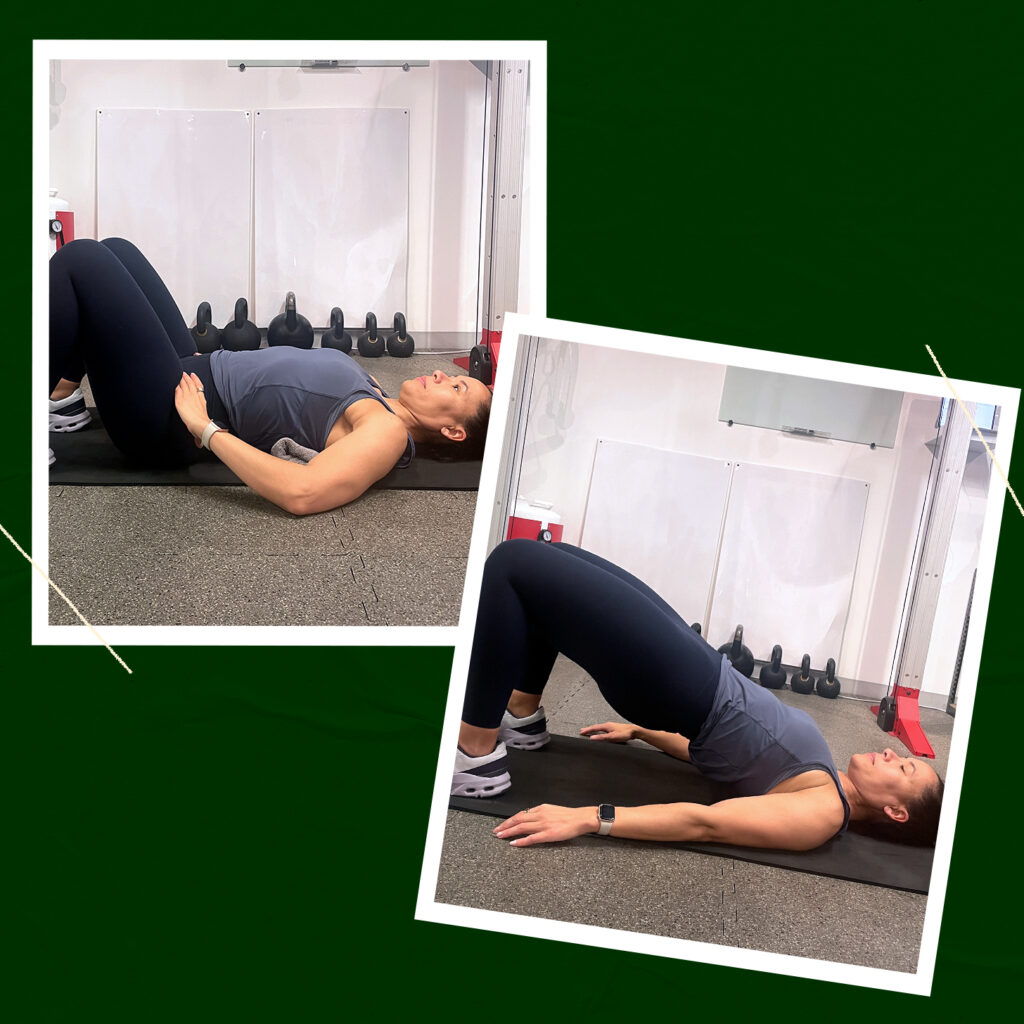
Reverse Hollow Body Hold
Think: CrossFit hollow hold, but flipped (and not quite Superman). It’s an insane core exercise, and while it might not look like you’re doing anything, 30 seconds will feel like 30 years in this position. It’s a doozy (apparently, an effective doozy).
- Lay face down with your forehead to the ground, hips pressed down, arms extended overhead and reaching forward.
- Scoop your belly button toward your spine, keeping your stomach from touching the ground (this is where the “hollow” comes in)
- Keep the tops of your feet and hips pressing into the ground, and hold that belly scoop for 30 seconds.
POPSUGAR Photography / Liz Letchford
Myofascial Release
Letchford told me the “biggest plank killer” (aka, the destroyer of form) is an anterior pelvic tilt, and the remedy for it is “working to improve the pelvic range of motion.”
“It’s hard to get into a posterior pelvic tilt [the correct form] if your hip flexors are too tight. You need to release fronts of your thighs and hip flexors with massage balls, massaging the low back. Create space and awareness of tension that you’re holding.”
Grab your massage balls (Letchford’s preferred tool), or a tennis ball, lacrosse ball, TheraGun, or foam roller. Get creative, but the gist is to have something that can both soften fascia (the tissue that connects muscles) and activate specific muscle groups around the pelvic area.
She had me target the TFL (tensor fascia latae), psoas/hip flexor, tops of the thighs (quads), the piriformis, and the glutes (minimus, medius, maximus – that whole butt and hip area). Think: tops of your legs, where your leg becomes the hip, the hip region, and the booty.
Spend about 60 seconds on each area to bring more awareness to these muscles and create better stability (and watch her hip and low back release video if you need guidance).
POPSUGAR Photography / Dominique Michelle Astorino
Time Your Plank Again
I didn’t do a single plank in between day one and day seven, nor did I do any additional exercises (aside from walking). And to my absolute shock, I added almost two minutes to my time.
Give this a shot at home, and see if you can take your planks to the next level. Happy ab-sculpting!